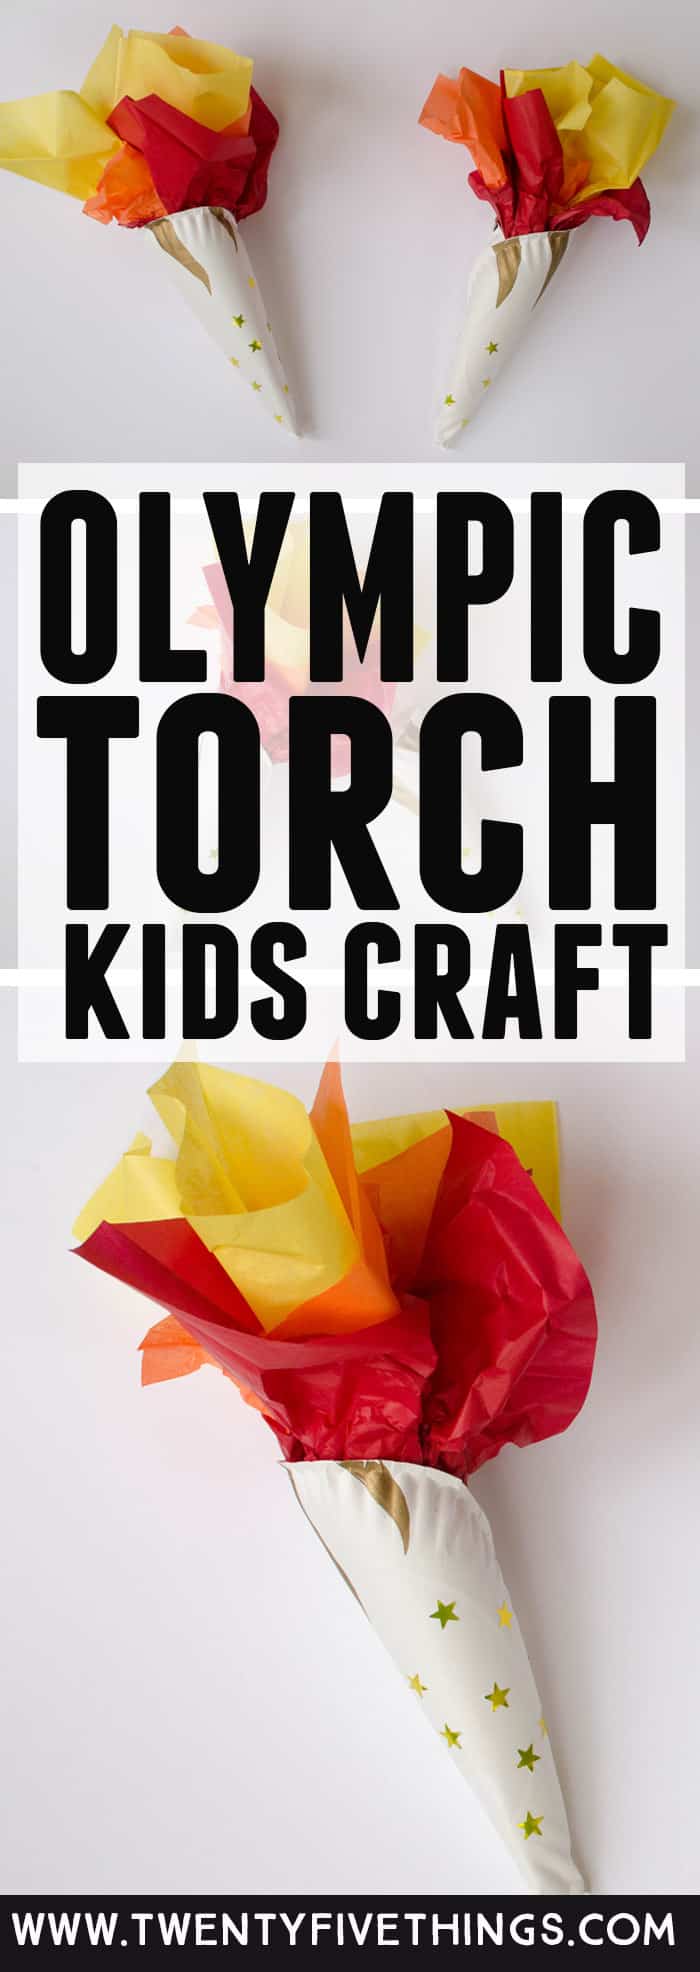
This easy Olympic torch craft is modeled after the official torch of the 2018 Winter Olympics. Using paper plates and tissue paper, you easily make your own Olympic torch at home.
Does your family get excited about the Olympic games?
We had so much fun watching the 2016 Summer games with the kids. They each had favorite athletes they would cheer on and certain events they like to watch. It turned into a great time for the whole family.
I’m not sure how the winter games will fare, but I’ve been trying to catch some of the Olympic trials when I can catch a few minutes of TV time.
(Also see my post with 25 Olympic Games, Crafts, and Treats for Kids.)
One of the quintessential moments of the Olympic games in the ceremonial torch lighting. The torch relay for the Winter games began in October, but you can make these replica torches with the kids so they can pretend to be torch lighters. You can even make your own torch relay if you like to stage your own games in your home!
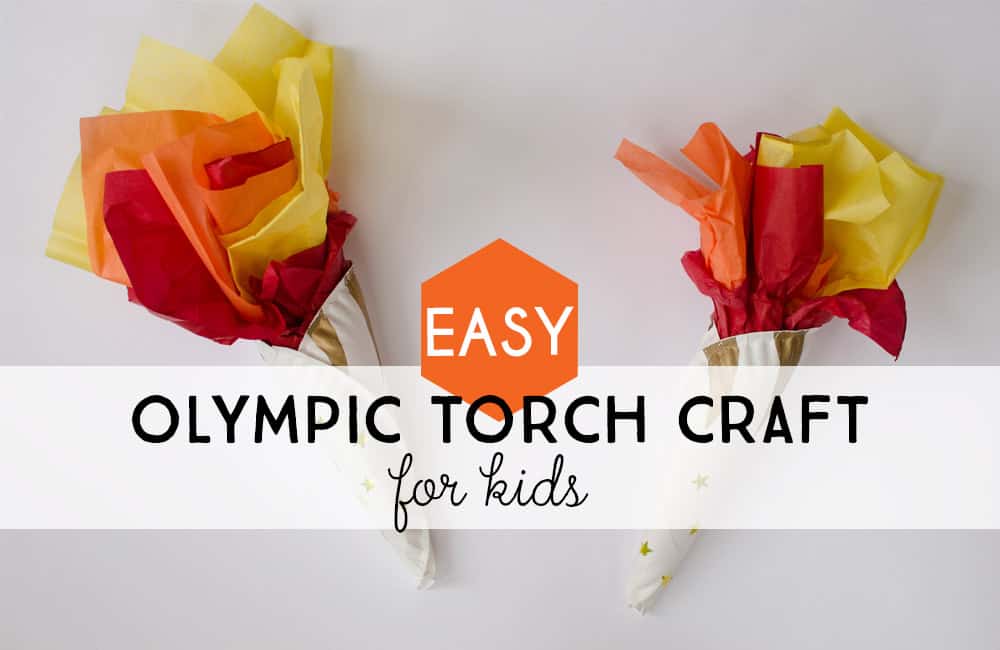
This is a quick craft that can be made in under 5 minutes so the kids can get on with playing with their new prop. It is designed after the 2018 Olympic Winter Games torch.
Here’s the original:

Olympic Torch Craft for Kids
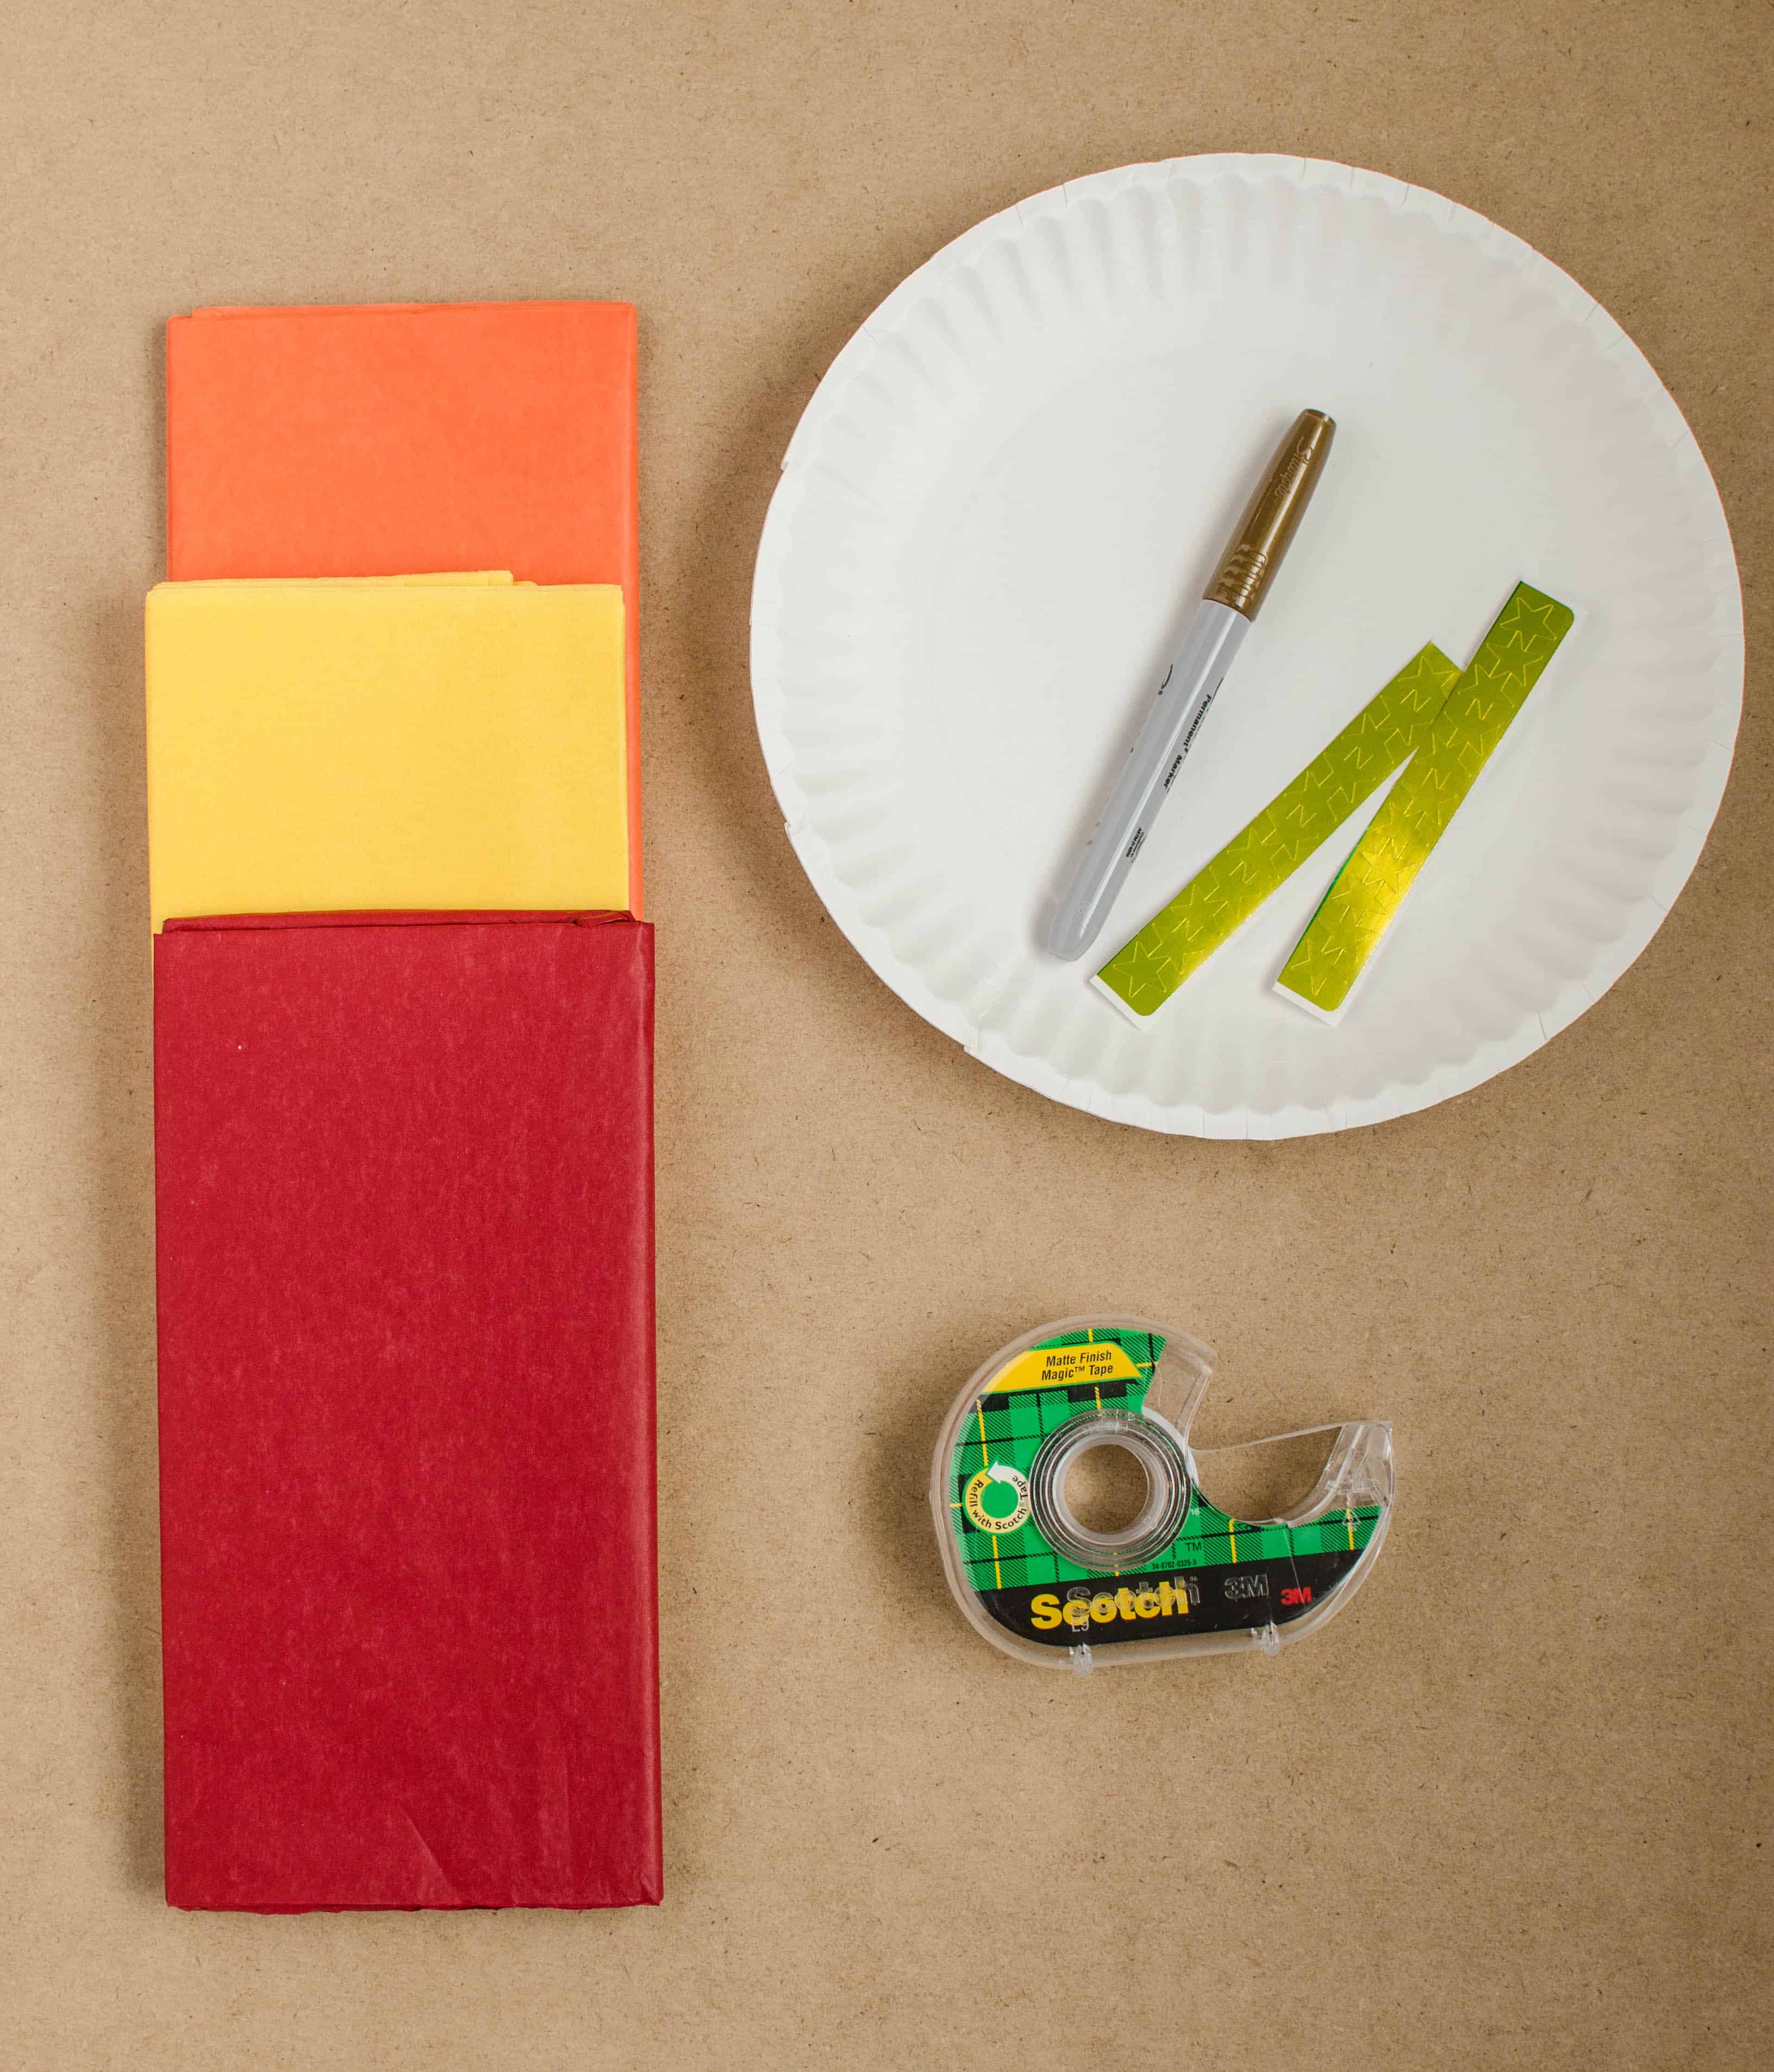
What you’ll need:
- thin paper plates (the cheap ones!)
- gold foil star stickers
- gold Sharpie marker
- fire-colored tissue paper
- invisible tape
- scissors (if you need to cut your tissue paper to a smaller size)
How to Make Your Torch
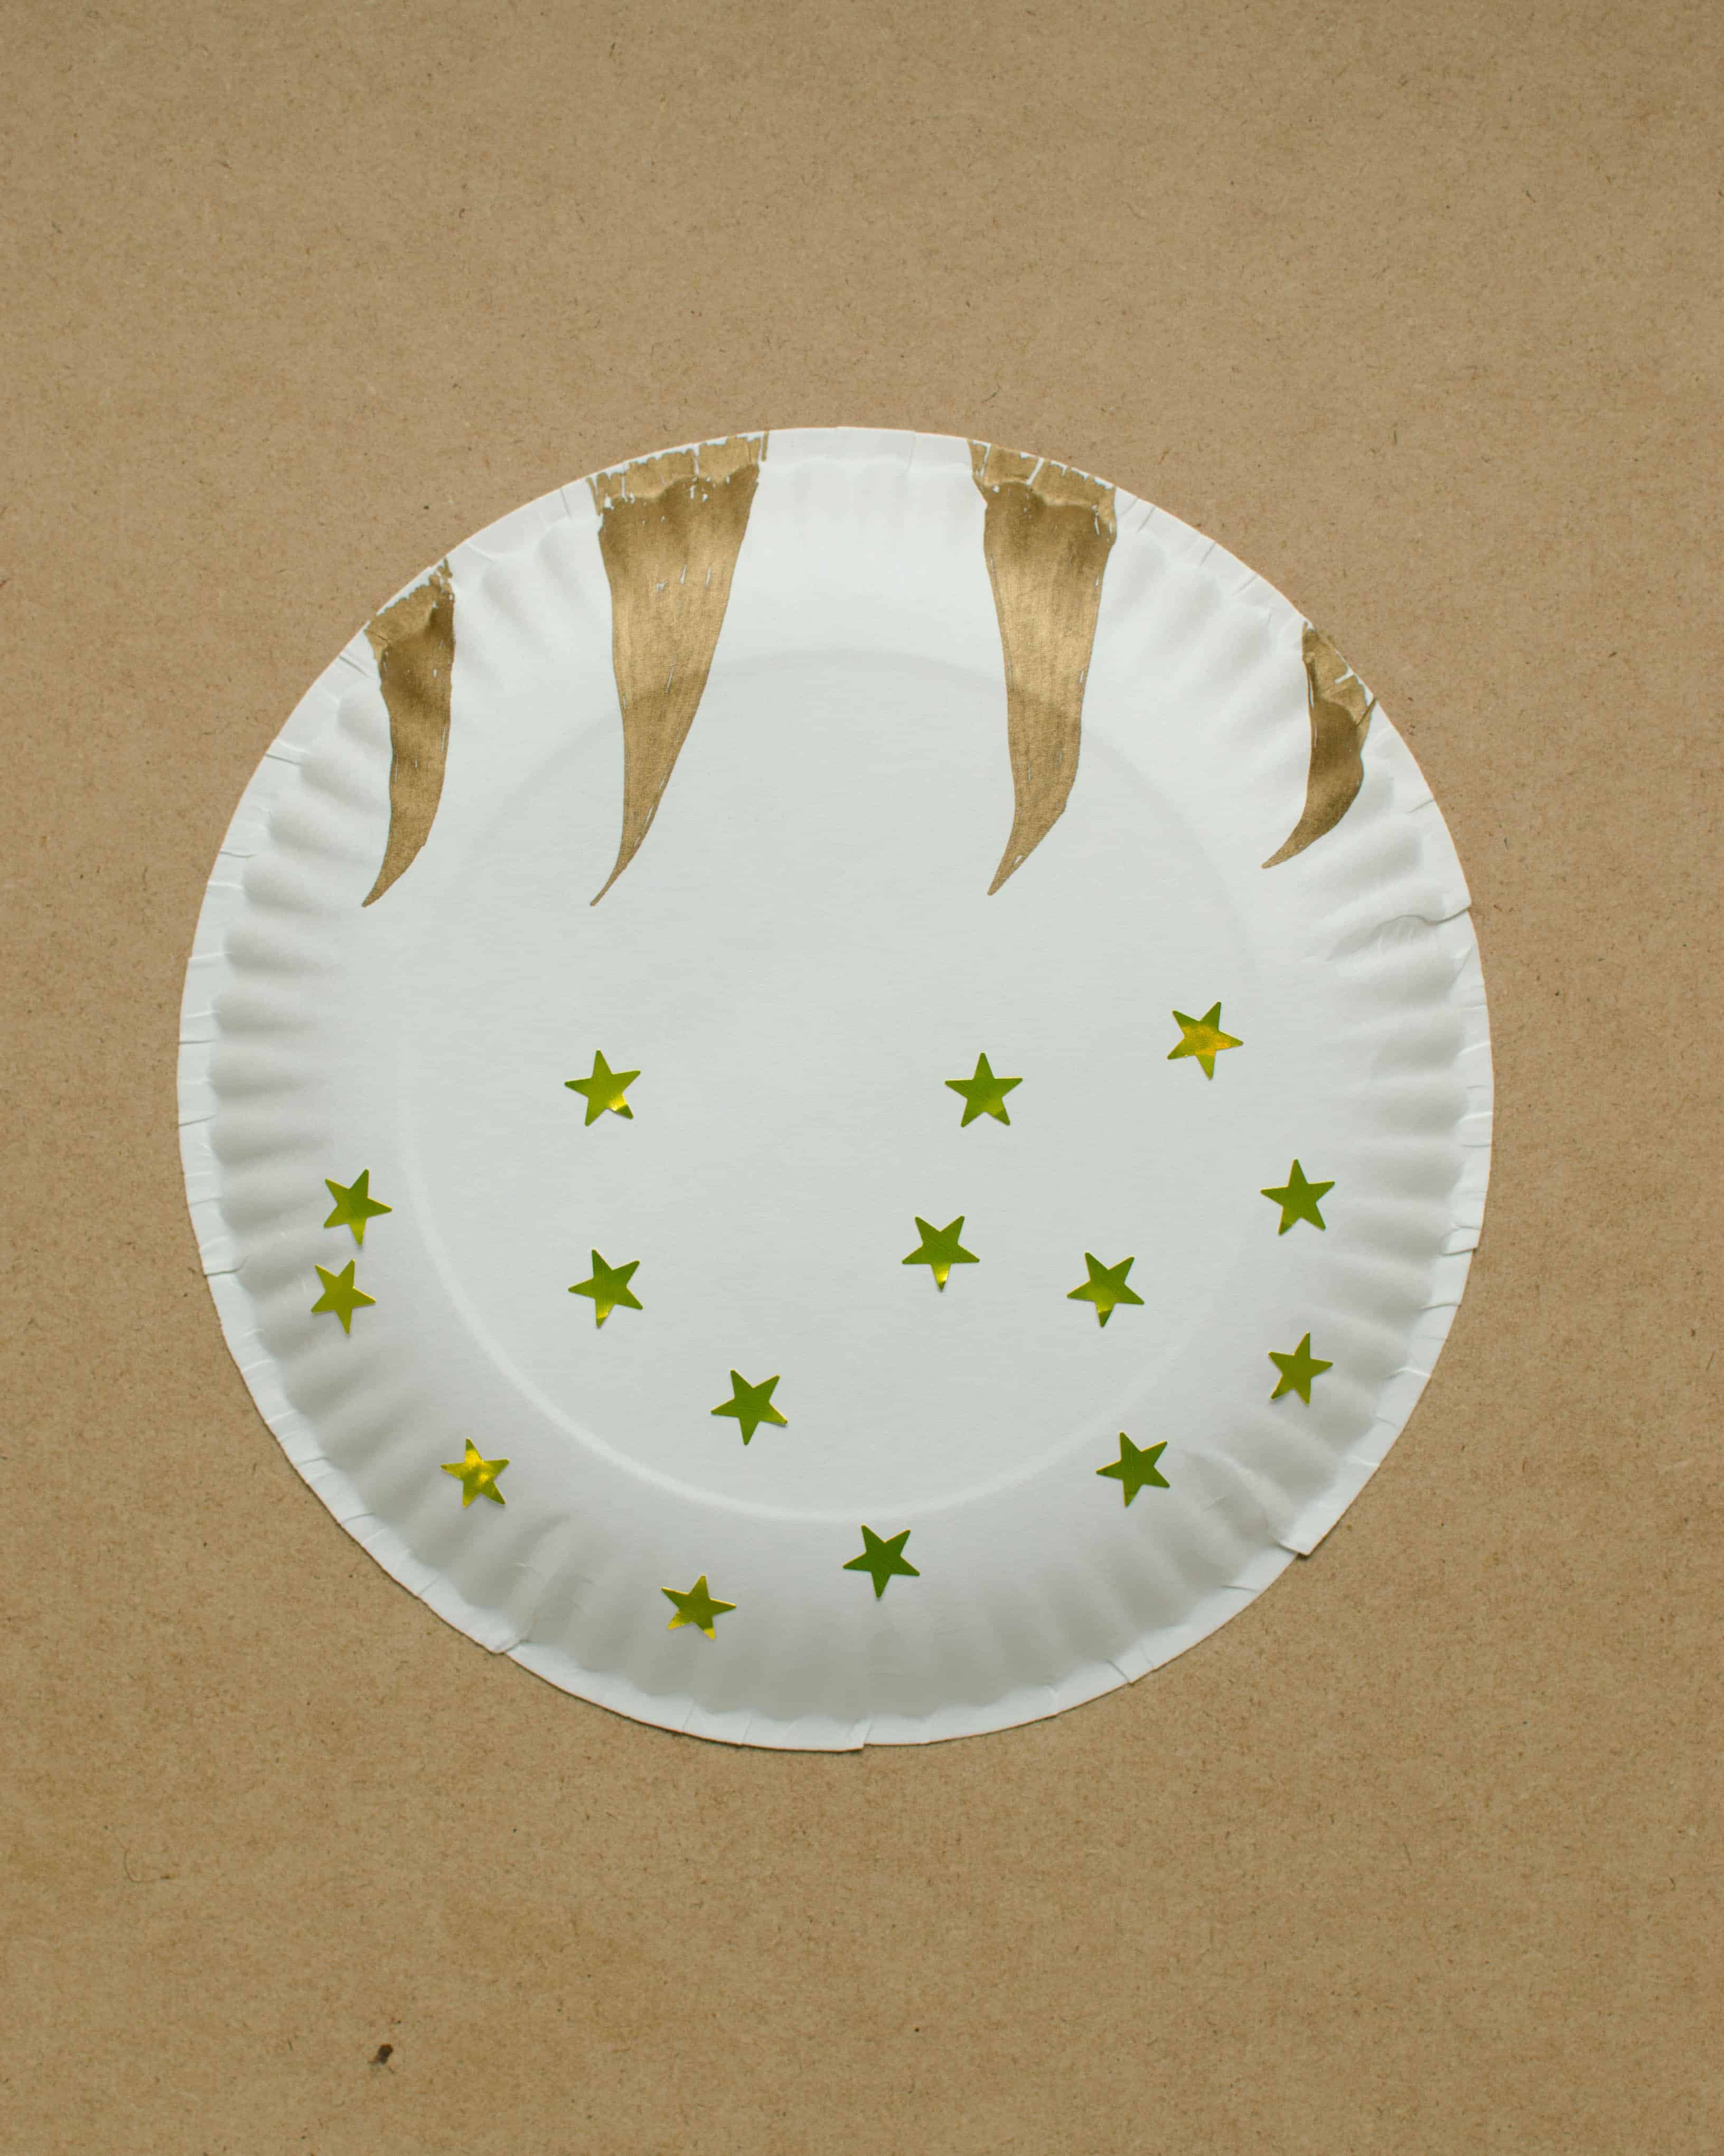
Start by adding stickers to the bottom of the plate and draw design similar to the one shown below to the top of the plate. Make sure you make your design on the back side of the plate so that it is easier to roll up later.
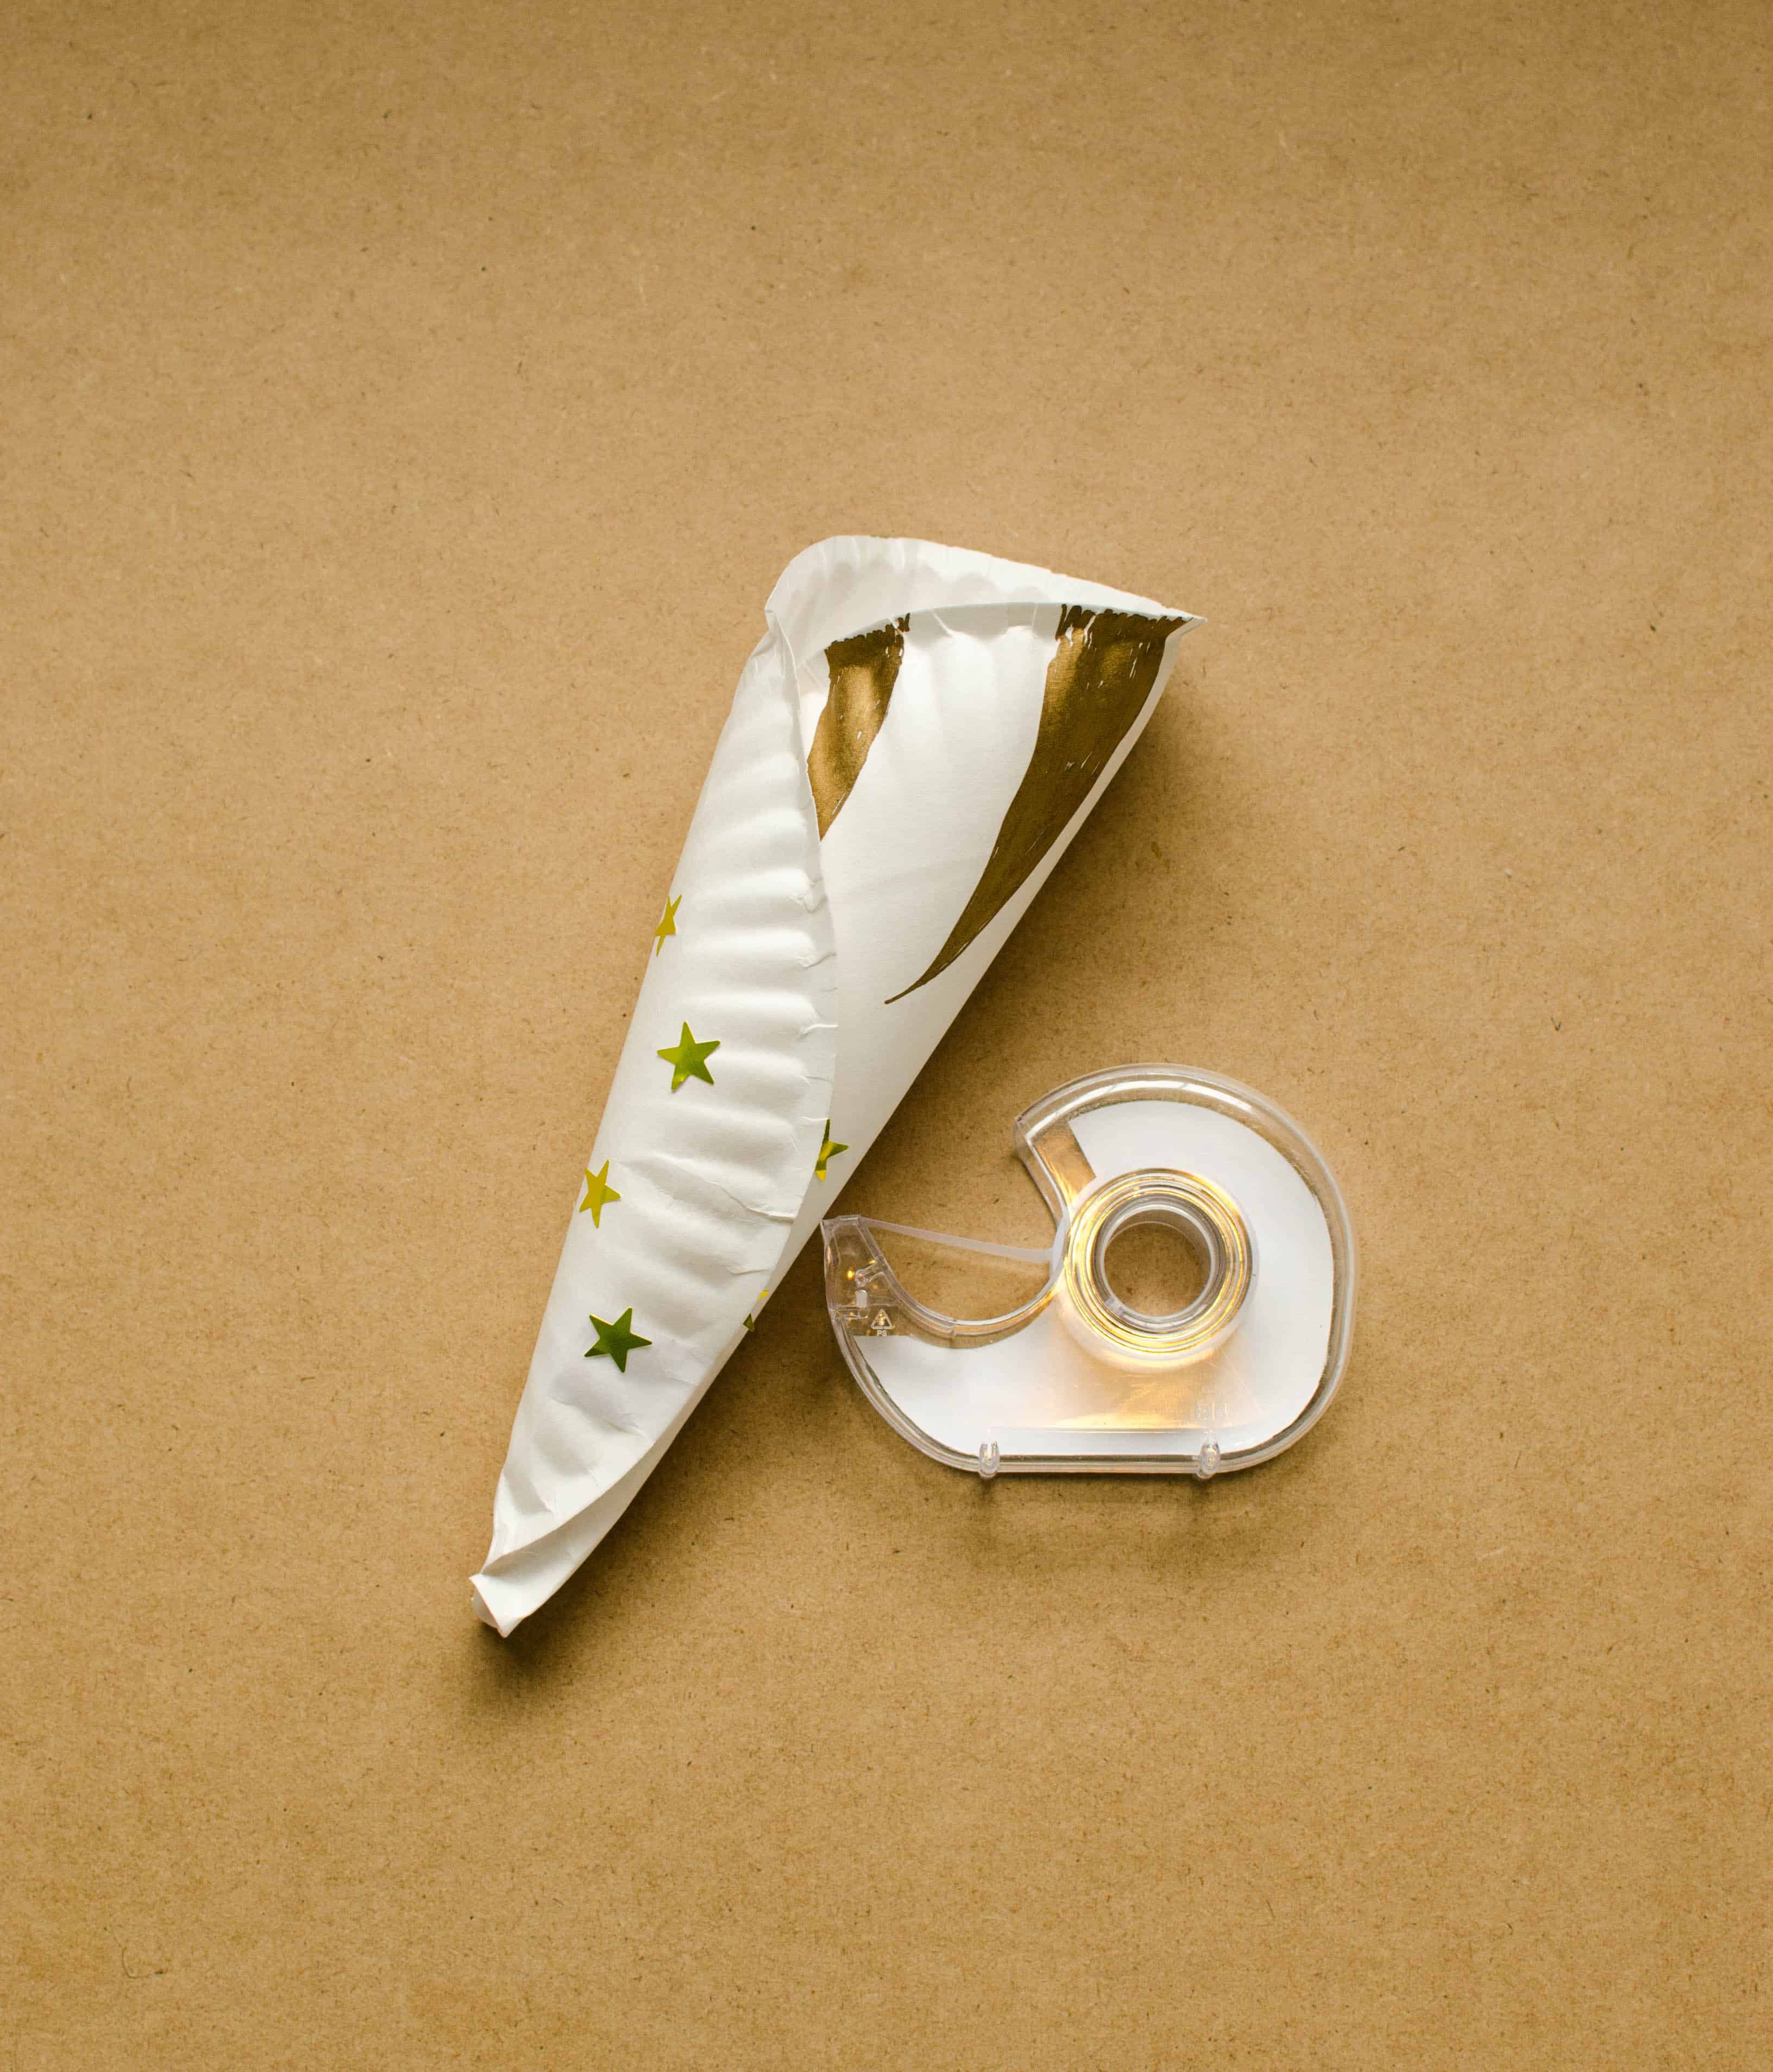
Next, gently roll the plate inward so that it is a tight roll at the bottom, but looser at the top. Tape in place to secure once you have it positioned.
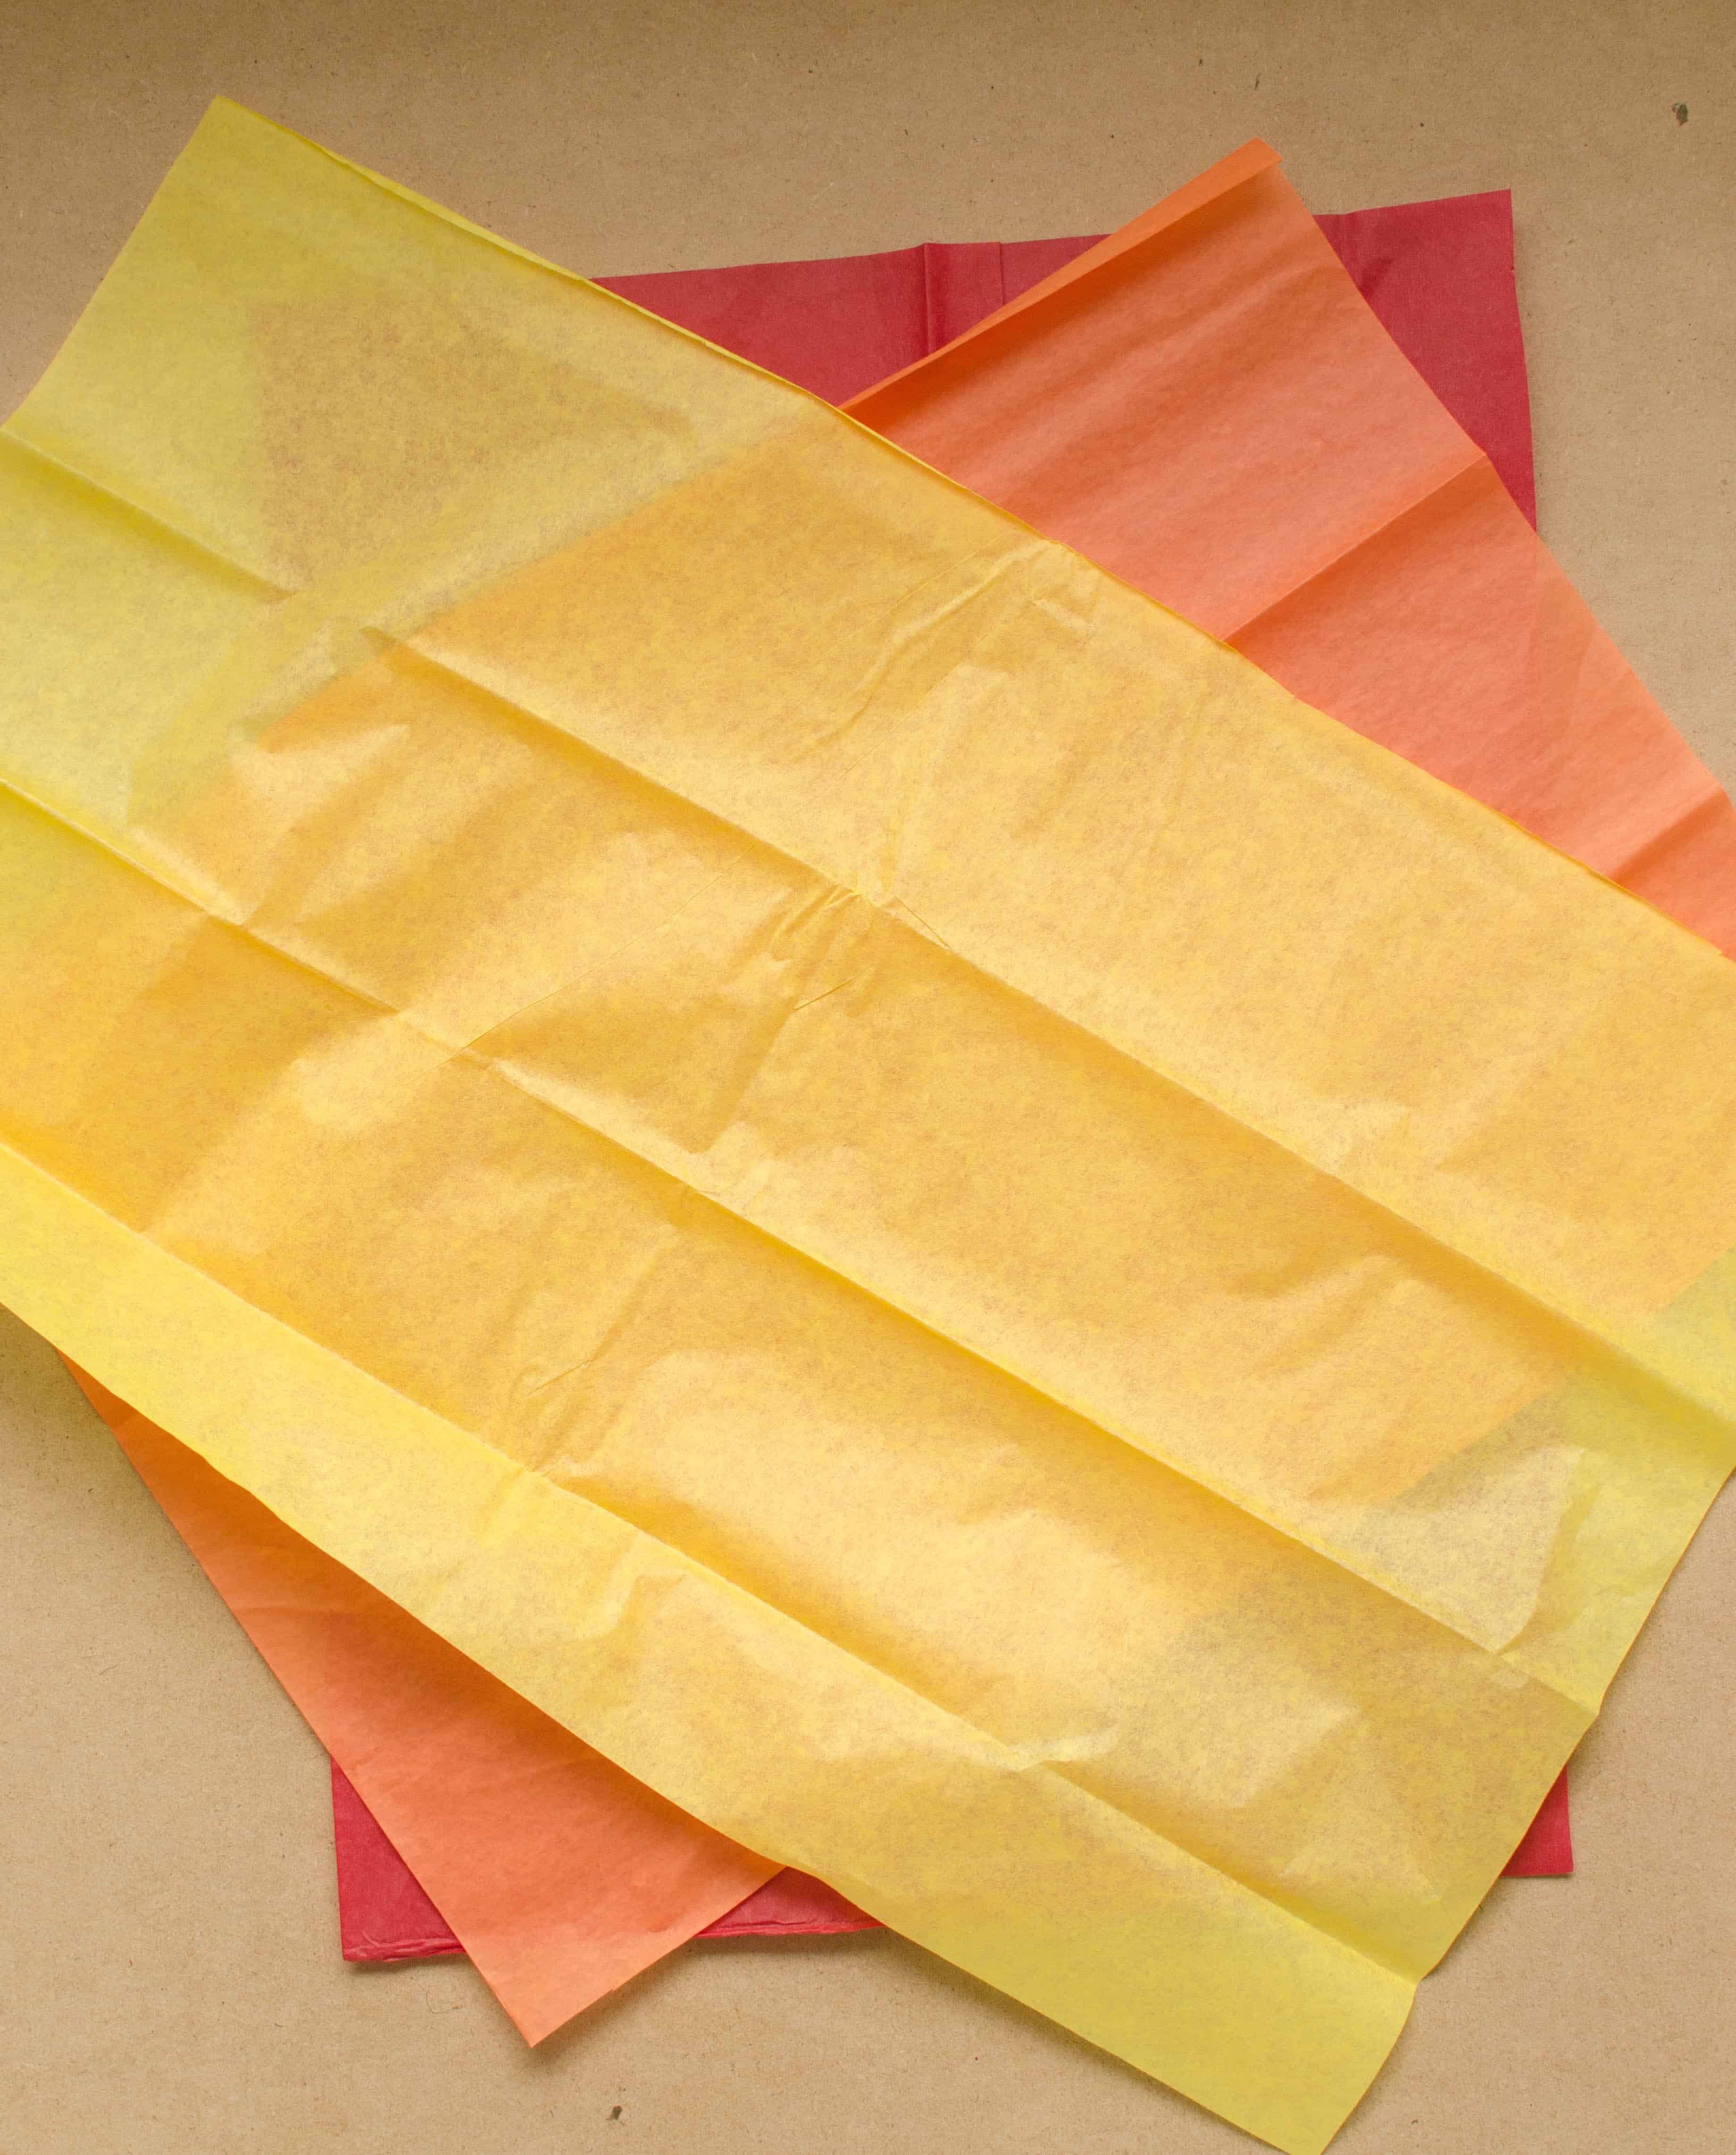
Now, layer your tissue paper as shown, varying the angles. I had to cut my tissue paper sheets in half to get them to the right size for the torches.
Gather the tissue paper from the center and squeeze the bottom so that it looks like the image below:
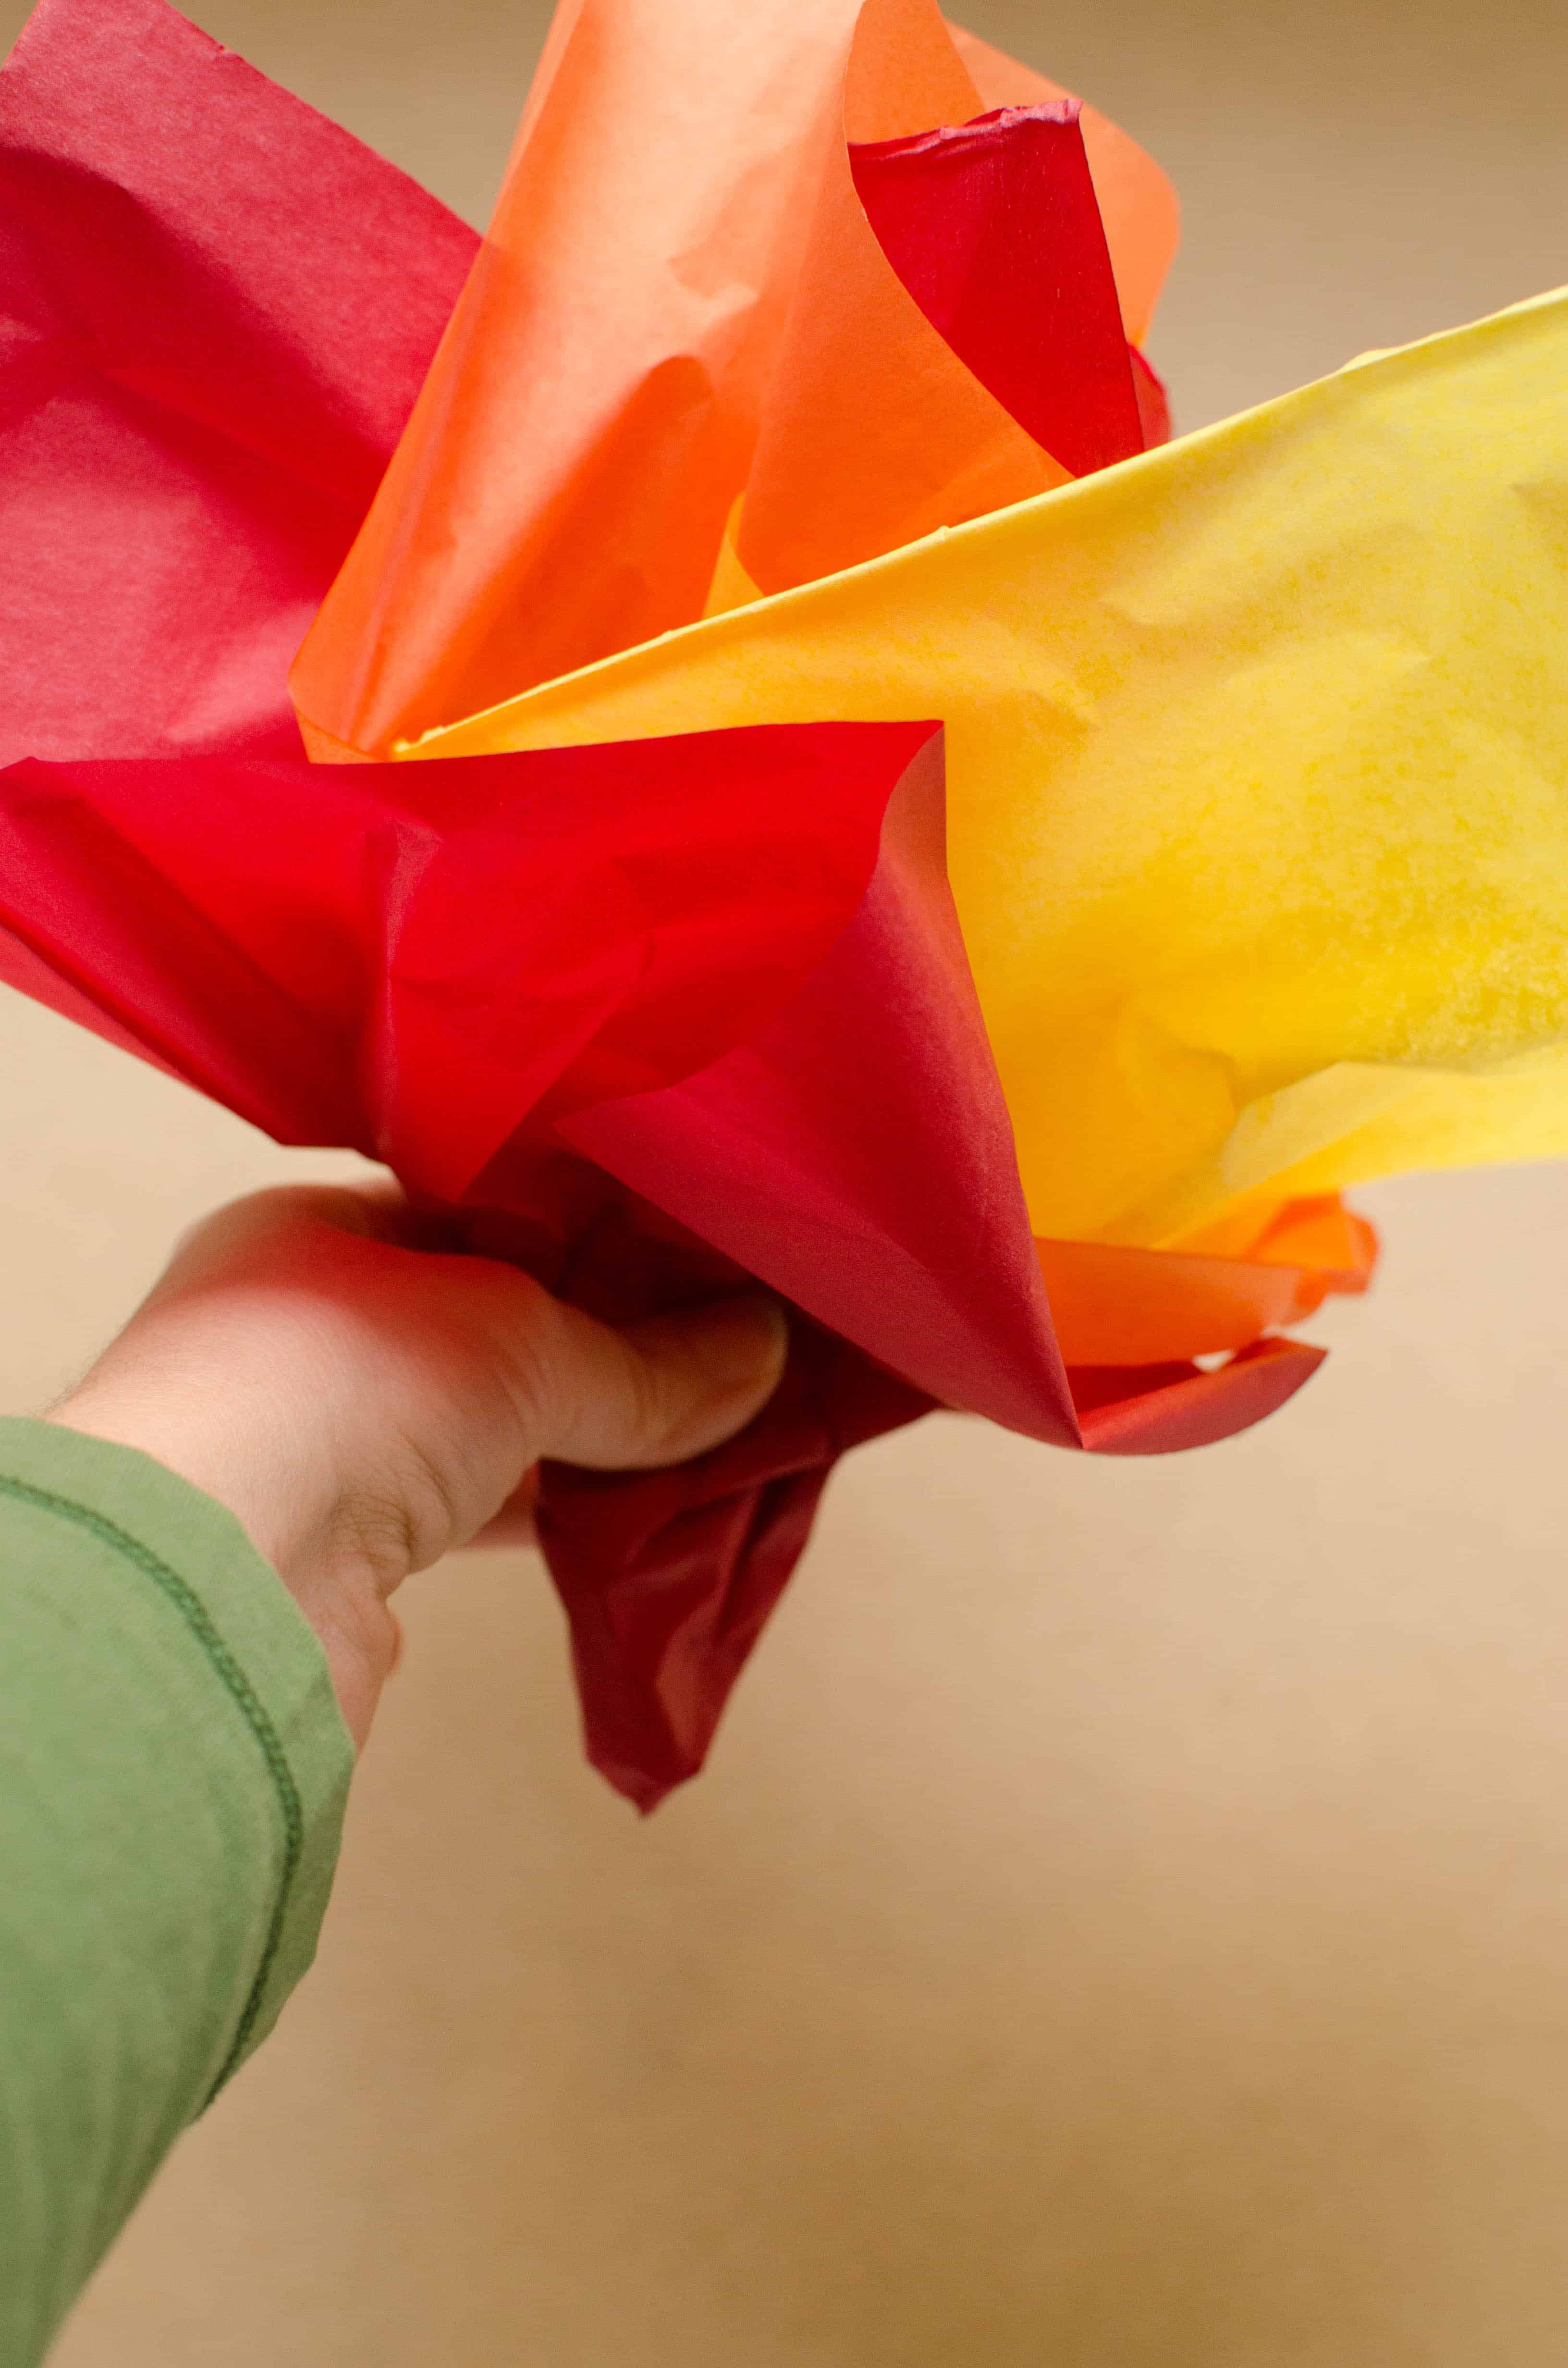
Tissue can now easily be inserted into the torch when you are ready to “light” it.

Variations on this Olympic torch craft:
- Use a star stamp or fingerprints instead of stickers for children who don’t have the fine motor skills to peel the little star stickers.
- Cut slits into the top of the plate and line with gold foil instead of coloring the gold design.
- Add a battery powered tea light to the inside to light up the tissue and make the torch more life-like
Now your Olympic torch craft is complete and you’re ready to celebrate!
Also be sure to take a look at my post with 25 Olympic Games, Crafts, and Treats for Kids.
Enjoy!
If you liked this craft, please pin the image below to share it and save it for later: